CLOUD QUICK START GUIDE
The following quick start guides are available for your viewing, scroll down for details:
- Registering for a Cloud account
- Connecting to your Cloud account (Mobile)
- Pairing your mobile device to a dive computer
- How to delete a dive (Mobile)
- How to delete a dive (Desktop)
- Signing-in to the Cloud (Desktop)
- Connecting to your dive computer
Registering for a Cloud Account
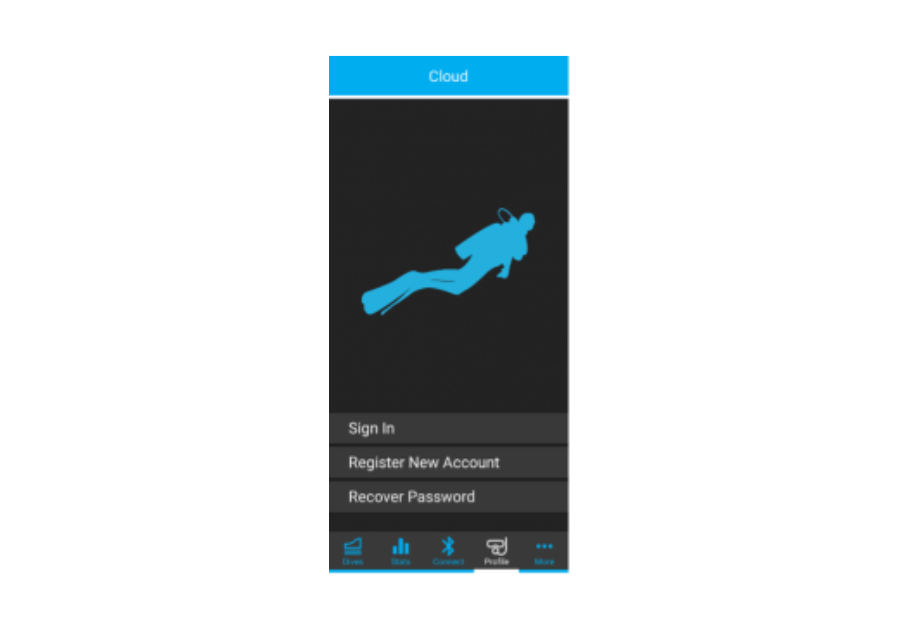
1. Navigate to the Cloud panel, click “Register” to create a new account.
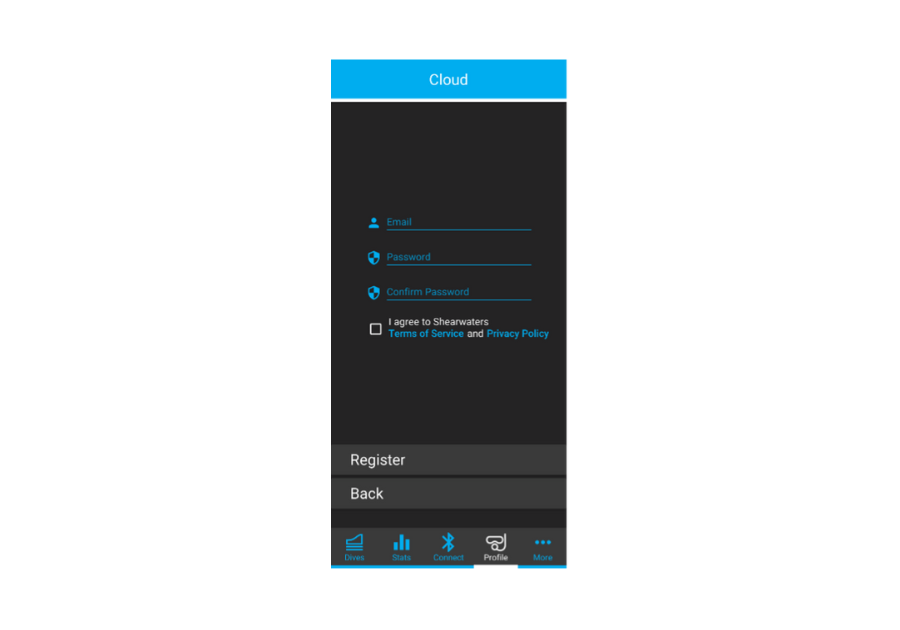
2. Complete the form and hit “Register”. Your email address will be your username when connecting to your Cloud account.

To change your password, simply click the below button. A forget password email will be sent to your inbox.
Connecting To Your Cloud Account
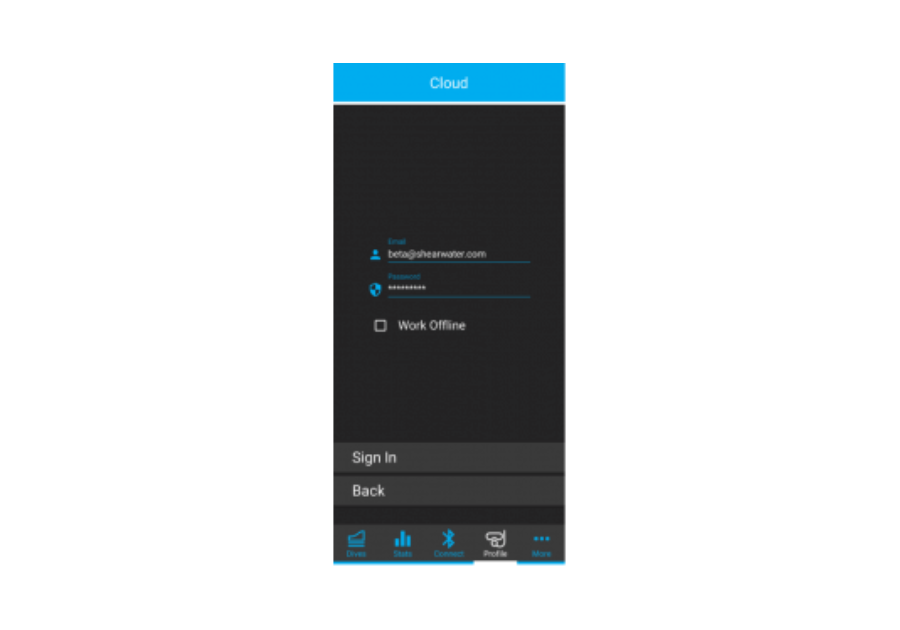
1. Navigate to the Cloud panel and sign in with the credentials you used to register with.
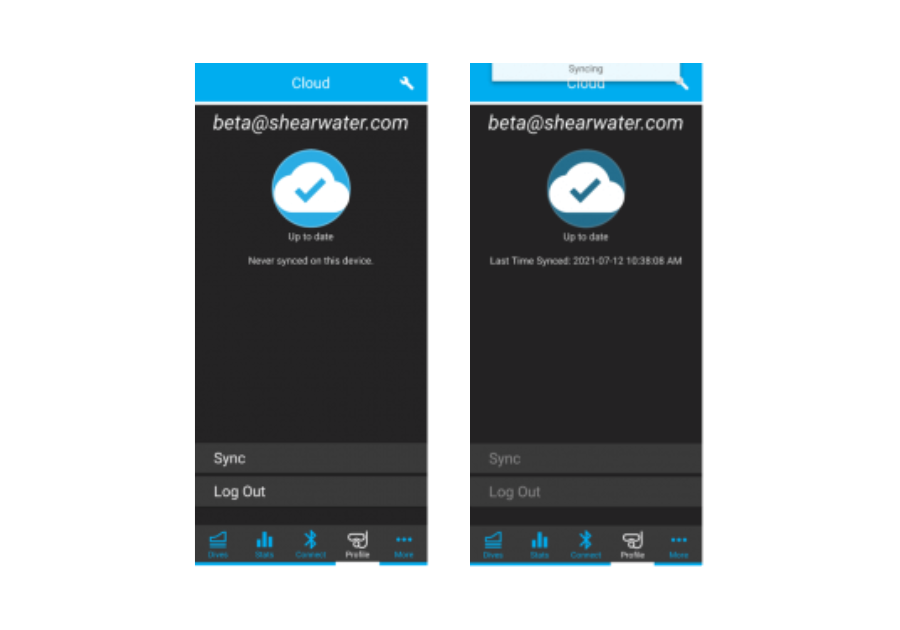
2. Once you have signed in, your dives will be automatically synced to and from the Cloud. You can also sync your dives manually by pressing “Sync”.
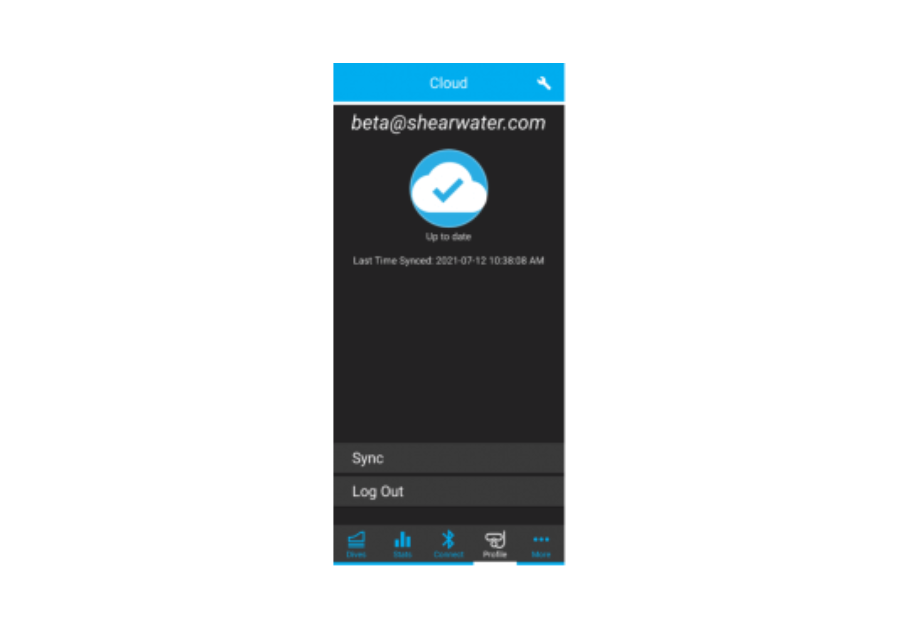
3. When syncing is complete, the timestamp will update to the latest sync.
When a cloud account is signed-in, the username will be displayed at the top of the app. All new dives downloaded on to your mobile device will be linked to your cloud account – even when there is no internet connection. When no cloud users are signed-in, “Guest” will be displayed All new dives downloaded on to your mobile device will be linked to the “Guest” account. When you sign-in to your cloud account, you will be asked if wish to transfer the dives to your cloud account.
Pairing your mobile device to a dive computer

1. Start the Bluetooth on your dive computer and wait for the “Waiting for PC” message to appear.
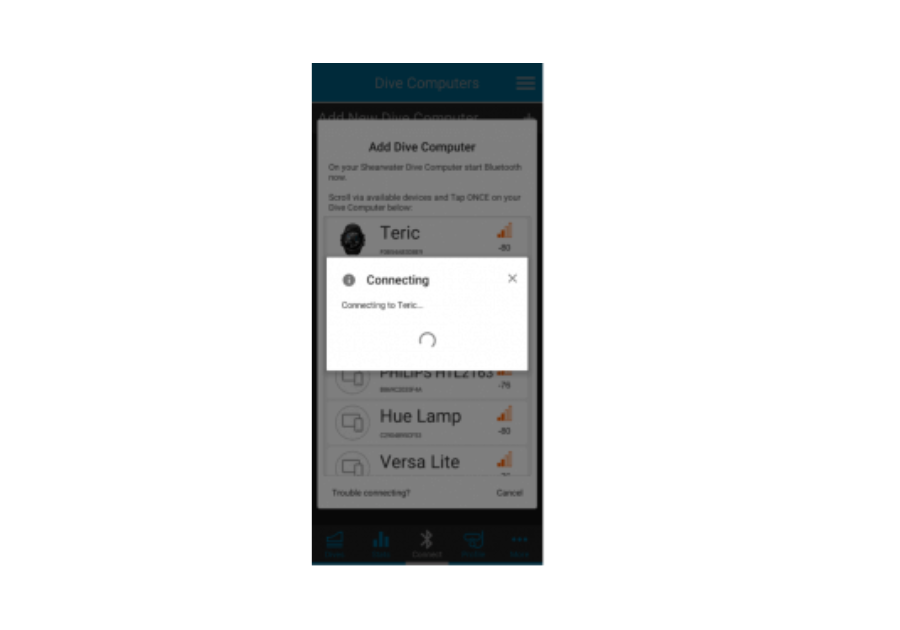
2. Tap Add New Dive Computer and tap on your dive computer.
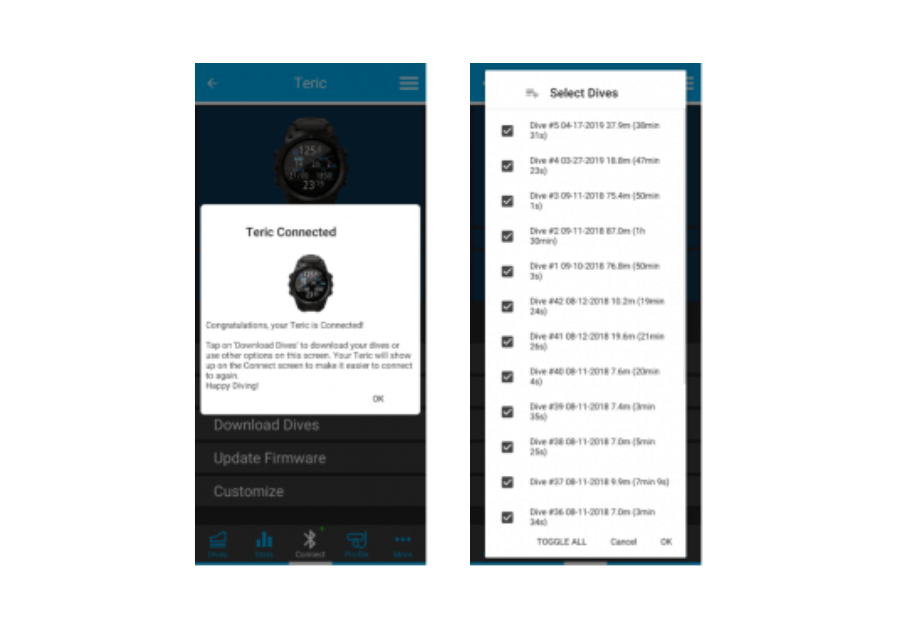
3. When connection is successful, you can now download dives and update your dive computer’s firmware.

4. Select "Customize" to give your dive computer a unique name for the Cloud app, or to change the Dive Computer Language.
How To Delete A Dive (Mobile)
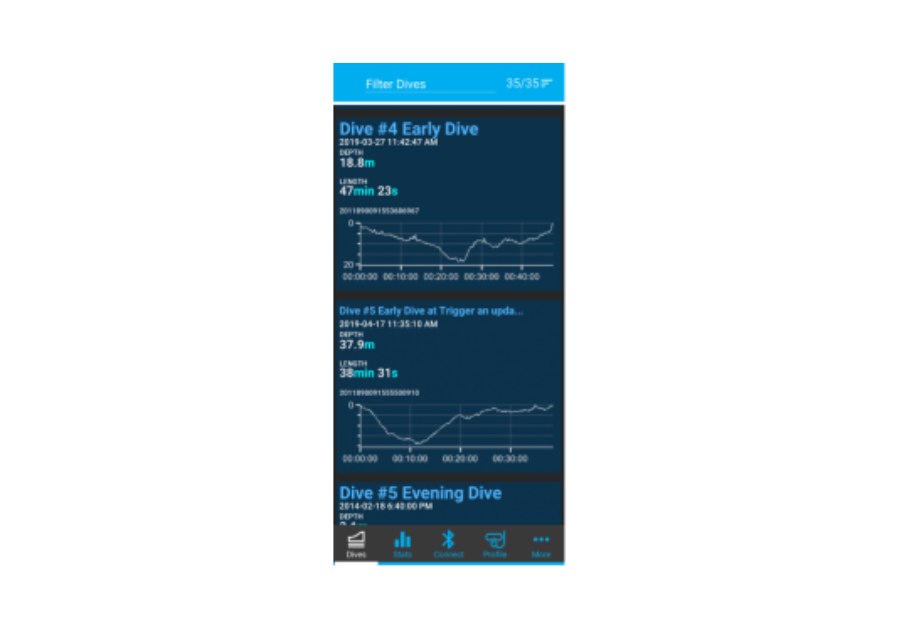
1. Navigate to the dive list and select the dive you wish to delete.
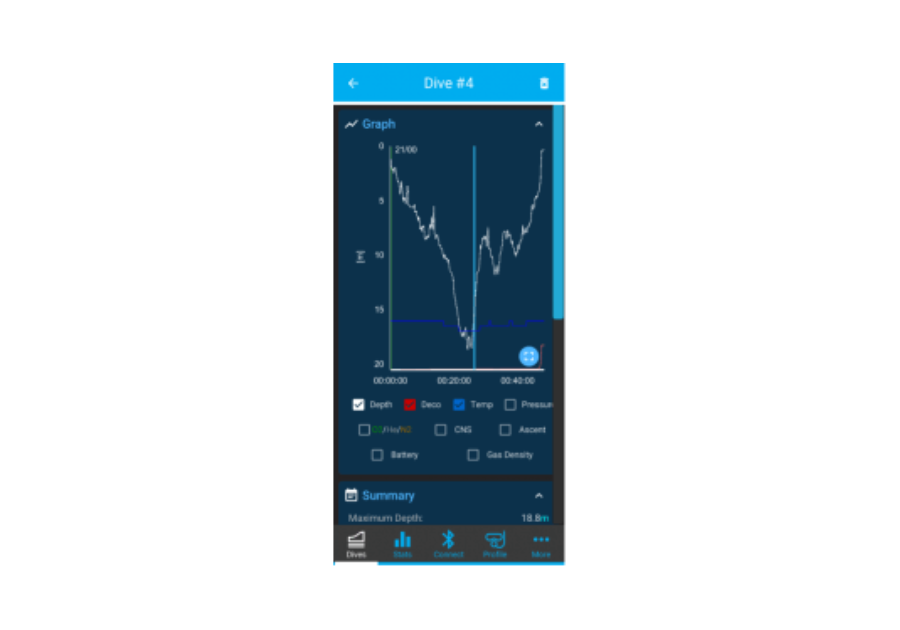
2. Press the trash can icon on the top right hand corner to delete the dive.
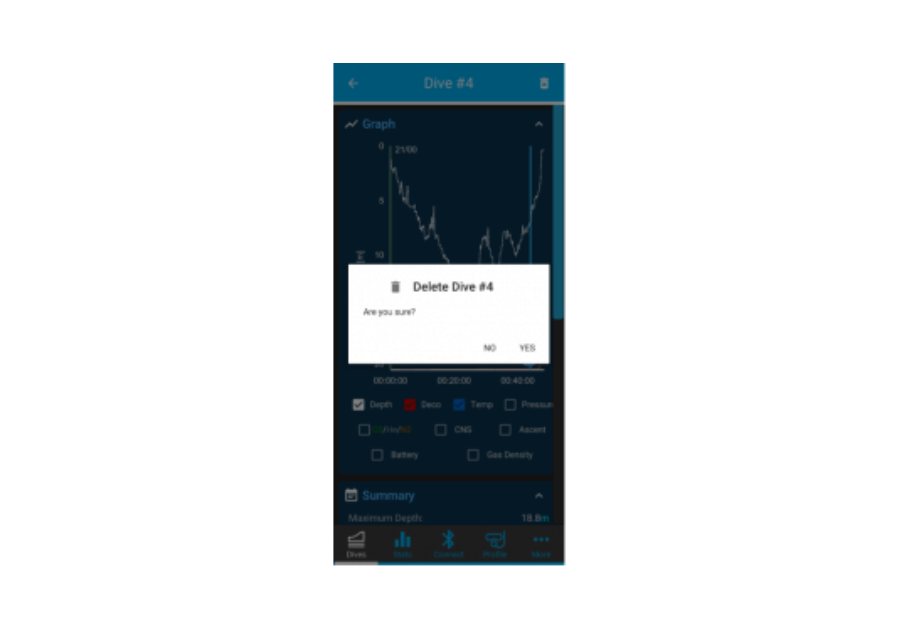
3. Click “Yes” to delete the dive.
How To Delete A Dive (Desktop)
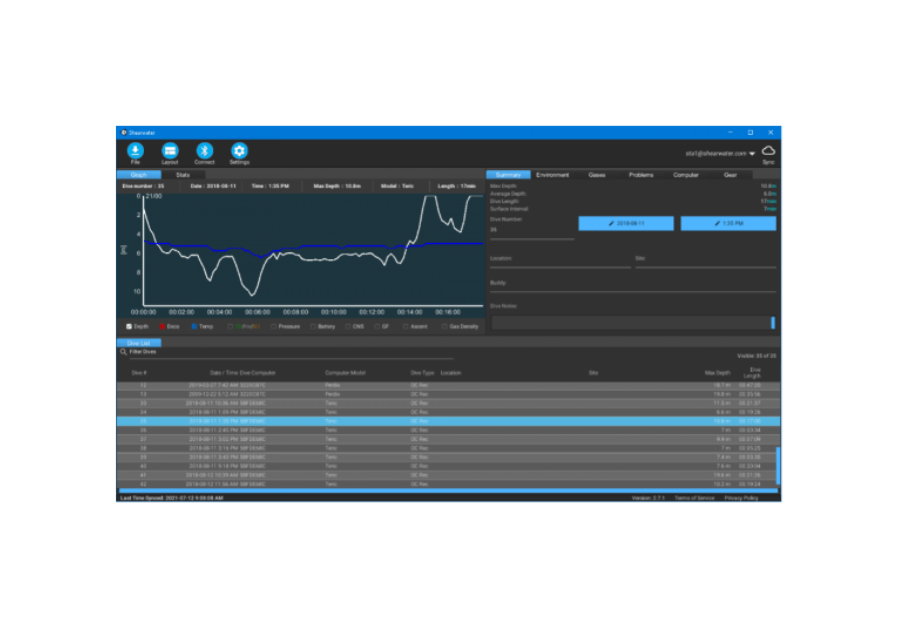
1. Navigate to the dive list and select the dive you wish to delete.
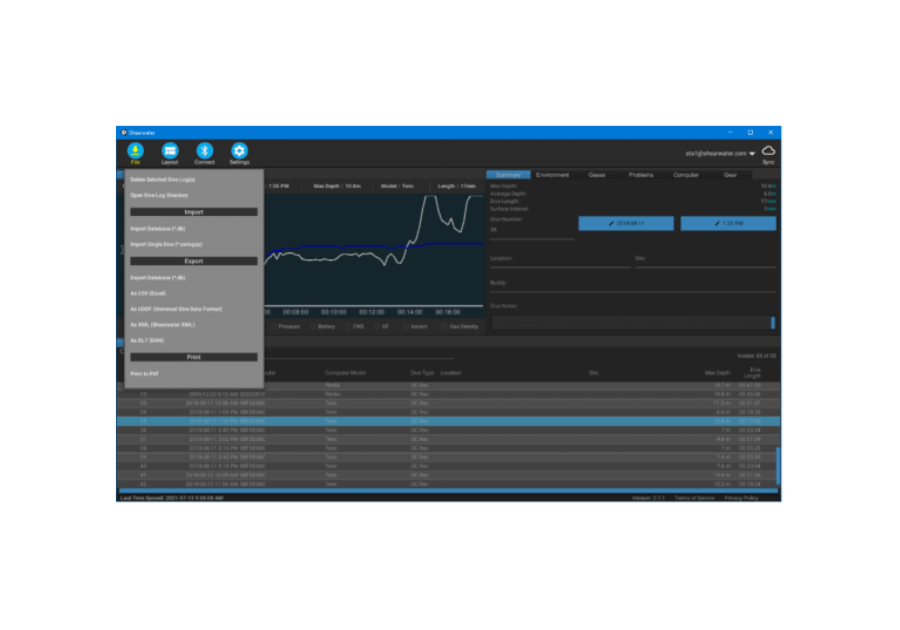
2. Press the File button and click on Delete Selected Dive Log(s).
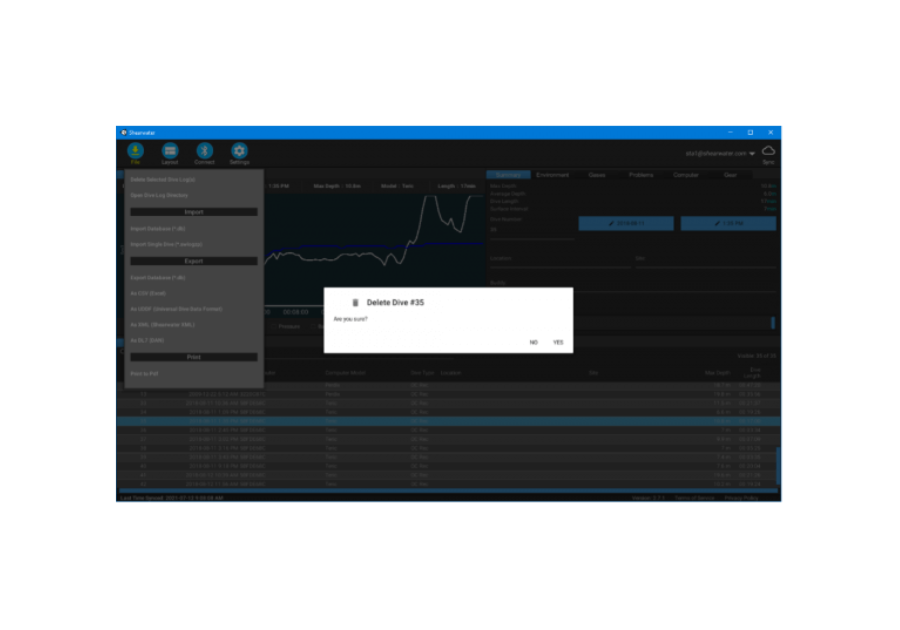
3. Click "Yes" to delete the dive. NOTE you can select multiple dives by holding down the Shift key and clicking on another dive to select that dive and the ones in between. Alternatively, you can hold down the Control key (Cmd on Mac) and clicking specific dives. Then you can delete these selected dives in the same way.
Signing-in to the Cloud
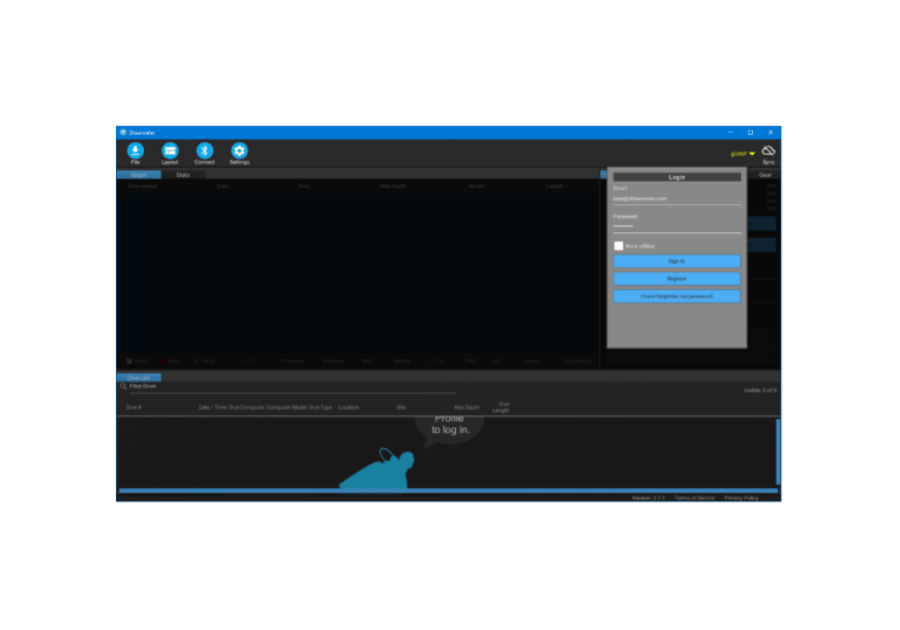
1. To begin signing-in to the Cloud, click on the "guest" menu item on the top right. 2. Sign in with the credentials you used to register.
3. Once you have signed in, your dives will be automatically synced to and from the Cloud. You can also sync your dives manually by pressing the "Sync" icon.
The bottom left hand corner will always indicate the status of the sync process and when you’ve last time stamped
Connecting to your dive computer
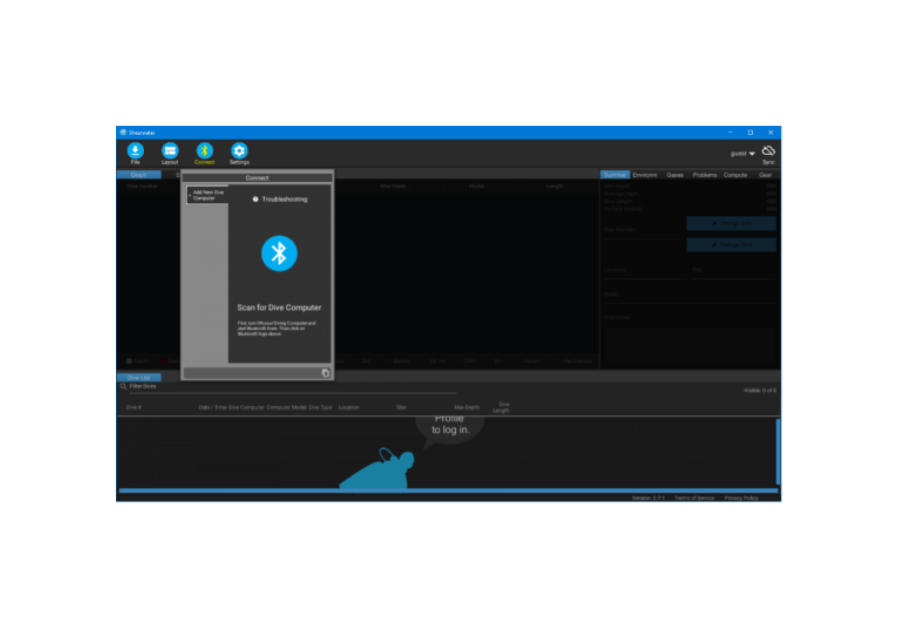
1. Click on the Connect icon to begin downloading 2. Click the “+” then click the Bluetooth Icon to begin connecting to your dive computer
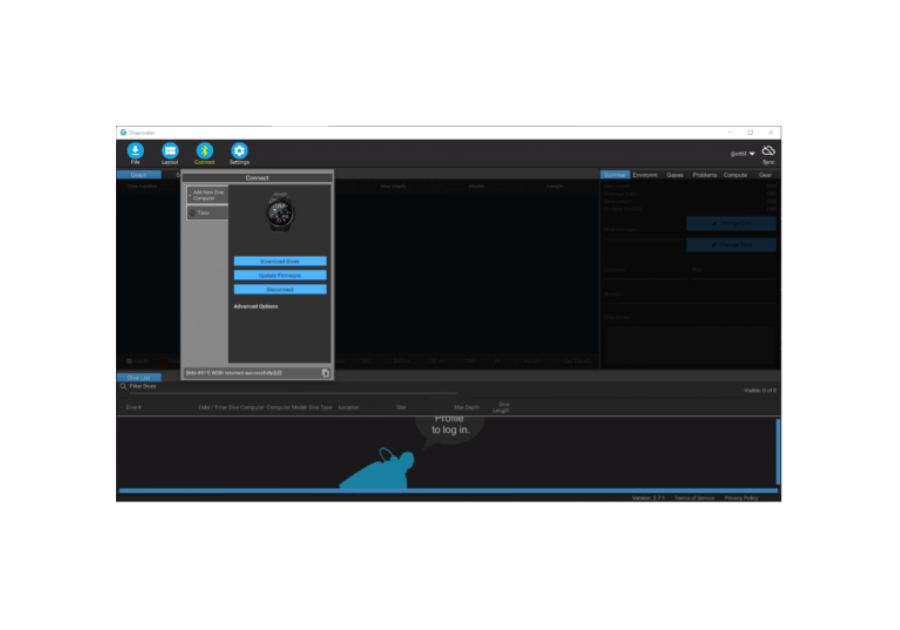
3. Once you are connected, you click download your dives, updating firmware, etc.

4. After the initial connection, you will see your dive computer displayed underneath the “+” sign. For faster connections, click on your dive computer, then click Connect. You can also change your dive computer name here.